Pillars 'n' Spike Mug Cozy
- saiasmidreamzinyar
- Feb 4, 2025
- 10 min read
Updated: Mar 20

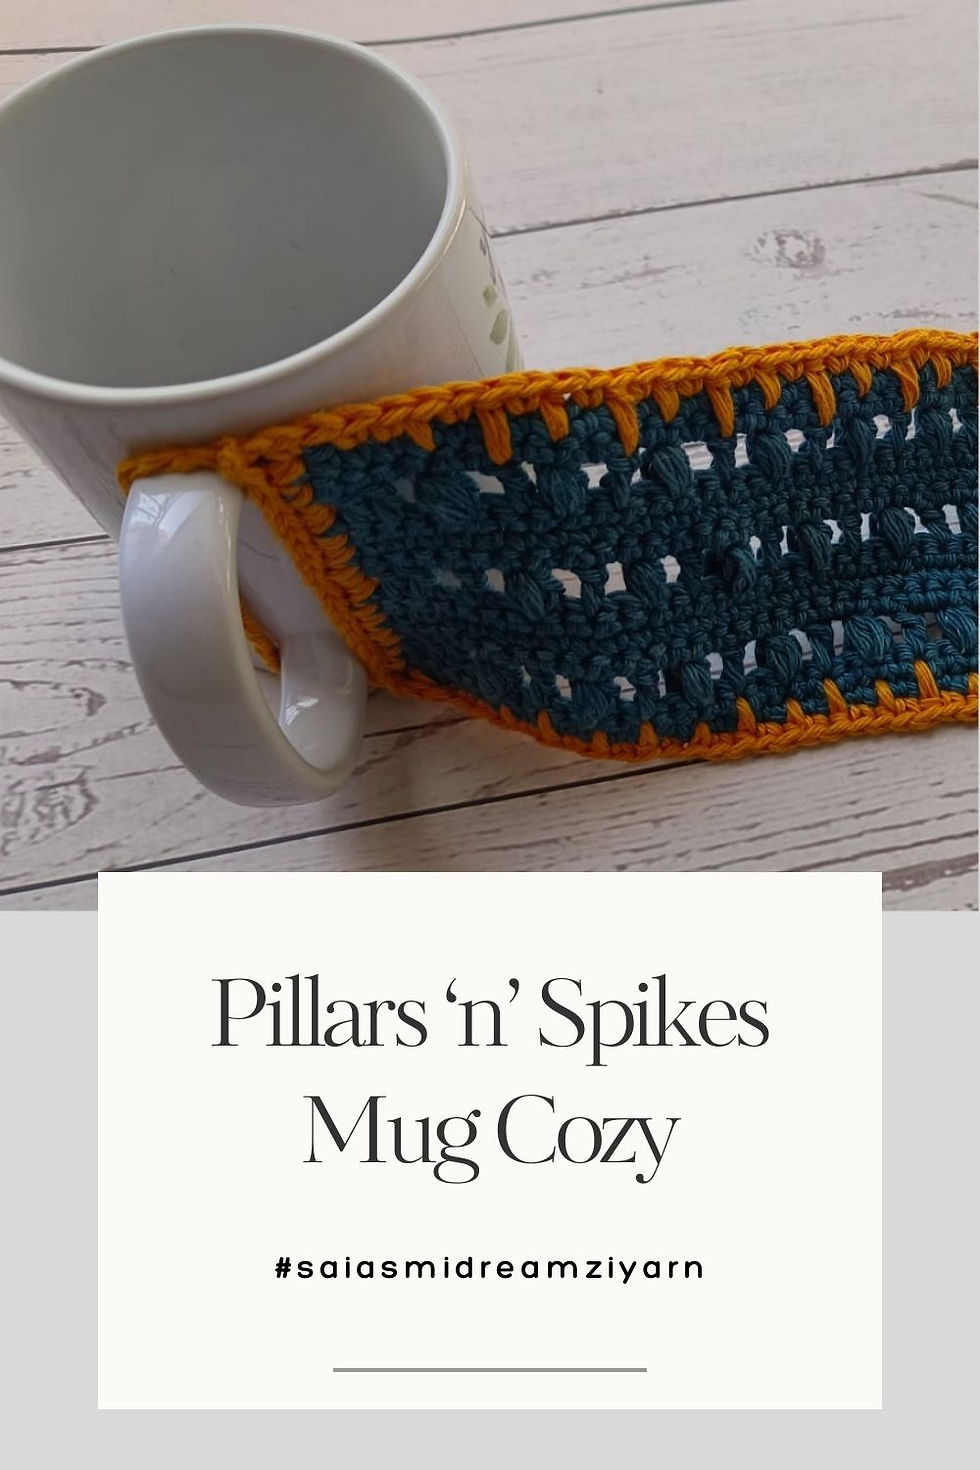
Colors and textures are a big part of Mug Cozies for me. The feel of the stitches with a pop of color, add to the charm. If you are like me, and love contrast colors; then you will love this project!
Moreover, this is a minimum - sew method of working. the instructions when followed, will let you make the entire cozy and edging without much need of sewing in. (just the last tail).
you can work over the tails as you go at the point where you join the contrast yarn.
So, if you don't change colors - then it's an absolute ONE - Piece project!
SCROLL down to get this pattern for FREE for 24 hours as a part of the March Maker Madness 2026 Blog Hop!
March Makers Madness

will run from March 1st-27th - each day features one pattern for FREE!. If you wouldnt want to blog hop - get ALL 27 patterns in one go for just $9.99

As a part of the GLOBAL CROCHET COLLABORATION - this pattern: Pillars 'n' Spikes Mug Cozy is #free #freeonblog for all time.
The #crochetpattern on this blog includes instructions to make
The Mug Cozy base
The Edging and loops in one piece
Pictorials for reference
If you'd like an Ad-Free PDF (Written + Pictorial pattern) - you can always purchase the same from my Ravelry or Lovecrafts stores.


March Maker Madness 2026 !
This blog hop is hosted by Pam of Carroway Crochet and is a collaboration of designs by talented #indiedesigners.
The Hop features themed patterns each day; available for FREE/download for 24 hours starting @ 7am PST
Check the patterns round - up on the host post.

INSTRUCTIONS to make the Pillars 'n' Spike Mug Cozy!

SKILL Level – Easy/Intermediate
About Pattern: A textured, simple, minimal-sew mug cozy, quick to make with simple repeats.
COMPLETED SIZE: approximately 10” in length and 3” in height using the same materials as given instructions; excluding the loops to fasten it on the mug.
Size may vary based on yarn thickness or hook size used.
If you'd like an Ad-Free PDF (Written + Pictorial pattern) - you can always purchase the same from my Ravelry or Lovecrafts stores.
Materials:
Yarn Used: Light DK/ Sport weight – Cotton/Cotton mix; Here I have used Urshii Crochet Thread Yarn. Total Yardage: 88 - 98 yards for 50g
I have used – approximately 60 yards (COLOR 1) for the base pattern of the cozy (Dark Teal) and 12 yards of (COLOR 2), a Contrast yarn (Mustard Yellow) for the spikes
Crochet hook – I HAVE USED: 3mm hook) for the project featured in the picture. You can use crochet hook, a size or two smaller than you’d usually use with the yarn. This gives you tight stitches and rigidity to the project.
Scissors and a needle to finish up.
GUAGE: N/A. If you insist 😊 11 rows of 23 dc make 4*4 inches swatch. The Pattern can be adjusted if the gauge doesn’t match. Look out for highlighted instructions.
March Makers Madness
will run from March 1st-27th - each day features one pattern for FREE!. If you wouldnt want to blog hop - get ALL 27 patterns in one go for just $9.99
If you'd like an Ad-Free PDF (Written + Pictorial pattern) - you can always purchase the same from my Ravelry or Lovecrafts stores.
Stitches used: US crochet terms
ch - chain
yo - yarn over
sc – single crochet
dc – double crochet
hdc – half double crochet
ss – slip stitch
Special Stitches and terminology:
HDC Bobble stitch
(Yo, inset hook into the stich and pull up a longer loop) THREE times,
Yo, pull the yarn through all the loops.
Ch1 to close the stitch. (This ch1 doesn’t count as a stitch when we make the sc rows in pattern)
Working Row – is the row of stitches/loops that are currently being worked upon.
· This is specific for the Edging instructions.
· The hdc stitches used for the spikes will be worked on rows below the working row.
PLEASE NOTE:
· ch1 does not count unless specified otherwise.
· Ch3 in the beginning of the row counts as a dc stitch.
If you'd like an Ad-Free PDF (Written + Pictorial pattern) - you can always purchase the same from my Ravelry or Lovecrafts stores.
LET’S START!!!
Using COLOR 1; Ch 50 To make a longer/shorter cozy, chain more/less; in multiples of 4.
50 chain stitches give me a cozy + edging that is about 10” long (excluding the loops on the side.
Row 1: make one sc in the 2nd chain from the hook
and make one sc in each chain across. TURN. (49 sc)
Row 2: ch1, sc in each stitch across. TURN. (49 sc))
If you'd like an Ad-Free PDF (Written + Pictorial pattern) - you can always purchase the same from my Ravelry or Lovecrafts stores.

Row 3: ch3 (counts as a dc stitch), make one dc in the next 2 stitches,
[ch1, skip the next stitch and make a HDC Bobble stitch in the next stitch,
ch1, skip the next stitch and make a dc in the next stitch] 10 times,
ch1, skip the next stitch and make a dc in the next 3 stitches. TURN.
(11 HDC Bobble stitches and 16 dc)
Please Note: The ch1 made to close the HDC Bobble stitch does not count as a stitch. Hence, we do not make a sc for that.
Row 4 - Row 6: ch1, sc in each stitch across. TURN. (49 sc)
March Makers Madness
will run from March 1st-27th - each day features one pattern for FREE!. If you wouldnt want to blog hop - get ALL 27 patterns in one go for just $9.99
If you'd like an Ad-Free PDF (Written + Pictorial pattern) - you can always purchase the same from my Ravelry or Lovecrafts stores.

Row 7: ch3 (counts as a dc stitch), make one dc in the next 2 stitches,
[ch1, skip the next stitch and make a dc in the next stitch,
ch1, skip the next stitch and make a HDC Bobble stitch in the next stitch] 10 times,
ch1, skip the next stitch and make a dc in the next stitch,
ch1, skip the next stitch and make a dc in the next 3 stitches. TURN.
(10 HDC Bobble stitches and 17 dc)
Please Note: The ch1 made to close the HDC Bobble stitch does not count as a stitch. Hence, we do not make a sc for that.
If you'd like an Ad-Free PDF (Written + Pictorial pattern) - you can always purchase the same from my Ravelry or Lovecrafts stores.
Row 8 - Row 10: ch1, sc in each stitch across. TURN. (49 sc)
Row 11: ch3 (counts as a dc stitch), make one dc in the next 2 stitches,
[ch1, skip the next stitch and make a HDC Bobble stitch in the next stitch,
ch1, skip the next stitch and make a dc in the next stitch] 10 times,
ch1, skip the next stitch and make a dc in the next 3 stitches. TURN.
(11 HDC Bobble stitches and 16 dc)
Please Note: The ch1 made to close the HDC Bobble stitch does not count as a stitch. Hence, we do not make a sc for that.
Row 12 - Row 13: ch1, sc in each stitch across. TURN. (49 sc)
Fasten OFF COLOR 1 and the tail can be incorporated at the back of the Edging stitches to avoid sewing up.
This completes the Base Mug Cozy. Now we move on to the Edging - to make the Spikes!
If you'd like an Ad-Free PDF (Written + Pictorial pattern) - you can always purchase the same from my Ravelry or Lovecrafts stores.
Spiked Edging
Once the base of the mug cozy is made; join COLOR 2 at point A as shown in the picture below and follow the steps as shown after to make the spikes.
March Makers Madness
will run from March 1st-27th - each day features one pattern for FREE!. If you wouldnt want to blog hop - get ALL 27 patterns in one go for just $9.99
If you'd like an Ad-Free PDF (Written + Pictorial pattern) - you can always purchase the same from my Ravelry or Lovecrafts stores.
Step 1 – ch1 (doesn’t count as a stitch). (sc, ch1, sc) in the same stitch – Corner A.
Ch 1, skip the next stitch,
Sc in the next 2 stitches on the working row,
[Make an hdc into the sc above the HDC bobble of Row 12,
Sc in the next sc of the working row,
Make an hdc into the top of the dc stitch of Row 11,
Sc in the next sc of the working row] across till last HDC bobble in that row.
make an hdc into the sc above the HDC bobble of Row 12,
Sc in the next 2 stitches of the working row,
Ch1, skip next stitch
@ Corner B – make (sc, ch1 sc) in the last stitch on the working row; to complete Side 1.
If you'd like an Ad-Free PDF (Written + Pictorial pattern) - you can always purchase the same from my Ravelry or Lovecrafts stores.
Step 2 – Turn to work down Side 2.
Make one around the side of Row 12,
Make 2 sc to the side of dc of row 11 and so on, to form a neat edge of 16 sc stitches. We are at Corner C.
TIP: Make one more or less, so the side can stay rested when left on a flat surface and doesn’t curl up.
If you'd like an Ad-Free PDF (Written + Pictorial pattern) - you can always purchase the same from my Ravelry or Lovecrafts stores.
Step 3 – chain 20 to make the side loop, flip the cozy over to the Wrong side of the project.
Slip stitch to chain space at CORNER B. ch1 (doesn’t count as stitch) and flip back to Right side.
Step 4 – slip stitch to the top of each stitch of Step 2 till we reach Corner C again.
Step 5 – Turn the work clock wise, so we can now see the unworked loops of the beginning chain. Make a ch1 and another sc in the first unworked loop of the beginning chain we can see. (making CORNER C)
This completes Side 2 and we start Side 3.
March Makers Madness
will run from March 1st-27th - each day features one pattern for FREE!. If you wouldnt want to blog hop - get ALL 27 patterns in one go for just $9.99
If you'd like an Ad-Free PDF (Written + Pictorial pattern) - you can always purchase the same from my Ravelry or Lovecrafts stores.
Step 6 – Working into the unworked loops of the beginning chain; this becomes our new ‘working row’ for the next set of instructions.
Ch 1, skip the next loop,
Sc in the next 2 loops on the working row,
[Make an hdc into the sc below the HDC bobble of Row 3 (top of stitch of Row 1)
Sc in the next loop of the working row,
Make an hdc into the base of the dc stitch of Row 3 (top of stitch of Row 2)
Sc in the next loop of the working row] across till just before the HDC bobble in that row.
make an hdc into the base of the dc stitch of Row 3 (top of stitch of Row 2),
Sc in the next 2 loops of the working row,
Ch1, skip next stitch
@ Corner D – make (sc, ch1 sc) in the last loop on the working row; to complete Side 3.
If you'd like an Ad-Free PDF (Written + Pictorial pattern) - you can always purchase the same from my Ravelry or Lovecrafts stores.
Step 8 – chain 20 to make the side loop, flip the cozy over to the Wrong side of the project.
Slip stitch to chain space at CORNER D. ch1 (doesn’t count as stitch) and flip back to Right side, to again work up side 4.
Step 9 – slip stitch to the top of each stitch of Step 7 till we reach Corner A again.
Fasten Off and Weave in the ends.
Click here to get the Discount CODE to Download my pattern from host post

Click on the listed product of the Download button to get to my pattern.
Apply the Discount Code to download the pattern for FREE on March 6th, 2026, for 24 hours starting 7:00 PST

Encourage the Designers! -
Drop a LIKE/ Favourite the pattern on Ravelry, or drop a comment on the designer's Social media. It helps motivate them and work towards a positive day for everyone.
Lastly, I would love to see your projects, so please do tag ‘Pattern by #saiasmidreamzinyarn’ on any Social Media platform, and I will be able to see them. This is totally optional. You can sell or gift the items made with this pattern, but please DO give credit to the Pattern and mention the source of Pattern. THANK YOU!
Any purchase made without checking the same, cannot be reverted
Here are some more of my latest patterns! Pin to your Idea board on Pinterest today! Click to read more about these patterns!


Check out more of my crochet and knit Patterns on Ravelry.
If you'd like to take advantage of the BONUS discount on Coaster/Cozy patterns or the e-books in my store - head over to the Ravelry BUTTON (MAKE sure to add the e-books to a new Cart to avail the discount with no code)
SCROLL DOWN to see some of my recently featured Patterns from previous blog hops! Click on picture to head to the blog post!


Another way to appreciate the Designers!
Hitting on the ❤️ on a post, is a huge boost in encouraging a Designer/Crafter. Linked
are the Instagram profiles of every Designer who has collaborated to make this Pattern Bundle and Blog Hop possible.
I can make customized projects for you. Ideal and handmade for Gifting for Special occasions, baby showers, party favors and hostess gifts.
If you want to get a custom product, design made, you can reach out to me via the
webpage, or check my SHOP on this website for available and Custom order products.
#gifting #handmadegifts #handmadewithlove #customorder #handmadetoys #saiasmidreamzinyarn #saiasmicreates #gifthandmade #celebratehandmade #supportsmallbusiness #localcrafts #bangaloreinstagram #bangalorecrafter #crochet #knitting #customknit #customcrochet


Comments