Tara's Decorative Collar - Circular slider
- saiasmidreamzinyar
- May 5
- 7 min read
Updated: May 7
Tara is my Bestie’s puppy. The word Tara means Star, and this decorative collar was designed for her, with a circular slider for adjusting the size of the collar.

May 1st - 14th is PET APPRECIATION BLOG HOP 2026, hosted by Jo's Crafty Hook. As an appreciation to our furry friends and their pure love, here is a new pattern from #saiasmidreamzinyarn
The Pattern Tara's Decorative Collar - pattern is a customizable collar pattern with a central textured portion that can be easily converted into an adjustable collar using a Crochet Circular slider and a plastic buckle. You can use this pattern to easily reuse a buckle from an old leash or collar!

The Tara's Decorative Collar is featured on DAY 6 - PET APPRECIATION BLOG HOP 2026.
SCROLL DOWN to see how you can get this pattern for FREE on the Feature Day, 6th of May, 2026!
The Pattern is also part of an e-book - All the patterns in this e-book are listed below; Get 50% OFF of the e-book for all of May, 2026! NO CODE NEEDED.
SCROLL down to next segment for deatils.
If, you've missed the Free Download, You can get pattern for $1, for the duration of blog hop. Use the same CODE as the Blog Hop on Ravelry
Additionally, GET 50% OFF of the Pet Collars 'n' Bandanas e-book on Ravelry for all of May, 2026! NO CODE needed.
Patterns in the Pet Collars 'n' Bandanas e-book

Tara's Decorative Collar pattern is available #freeonblog ( this blog defines how to make a long enough textured strip/band and the Crocheted Circular slider (which is used to make the band adjustable OR can be used as a decorative slider if you are making a fixed length attached to a Buckle.
This pattern is a mix of textured crossed bobble stitches and dc. Worked in rows and bottom up; it is a fun pattern to try!
You can find this pattern in the
Pets Collars 'n' Bandana e-book on Ravelry (Total of 5 Patterns) for
50% OFF for all of May 2026; for less than $1 for each pattern! - NO CODE needed.
Patterns Included:
* Heart to Heart Collar
* Spiral in Square
* Hugs 'n' Kisses Pet Bandana
* Tara's Decorative Collar
* Neel's Decorative Collar
SCROLL DOWN to see the written instructions to make the crochet textured band for Tara's decorative collar and it's Circular Slide.
CLICK HERE to get the assembly instructions in picture format.


The PET APPRECIATION Blog Hop 2026, hosted by Jo's Crafty Hook and features 16 Crochet Designers and their patterns starting May 1st - 14th, 2026.
This means you can download the Pattern for FREE on May 6th, 2026 for 24 hours starting 9:00 Eastern Time
You can also get all this and 4 more Pet collar/bandana patterns as 'Pet Collars 'n' Bandanas' e-book on Raverly.
Get 50% OFF of the Pet Collars 'n' Bandanas e-book (5 patterns) , no Code needed, for all of May, 2026!
ADD e-book to a new CART
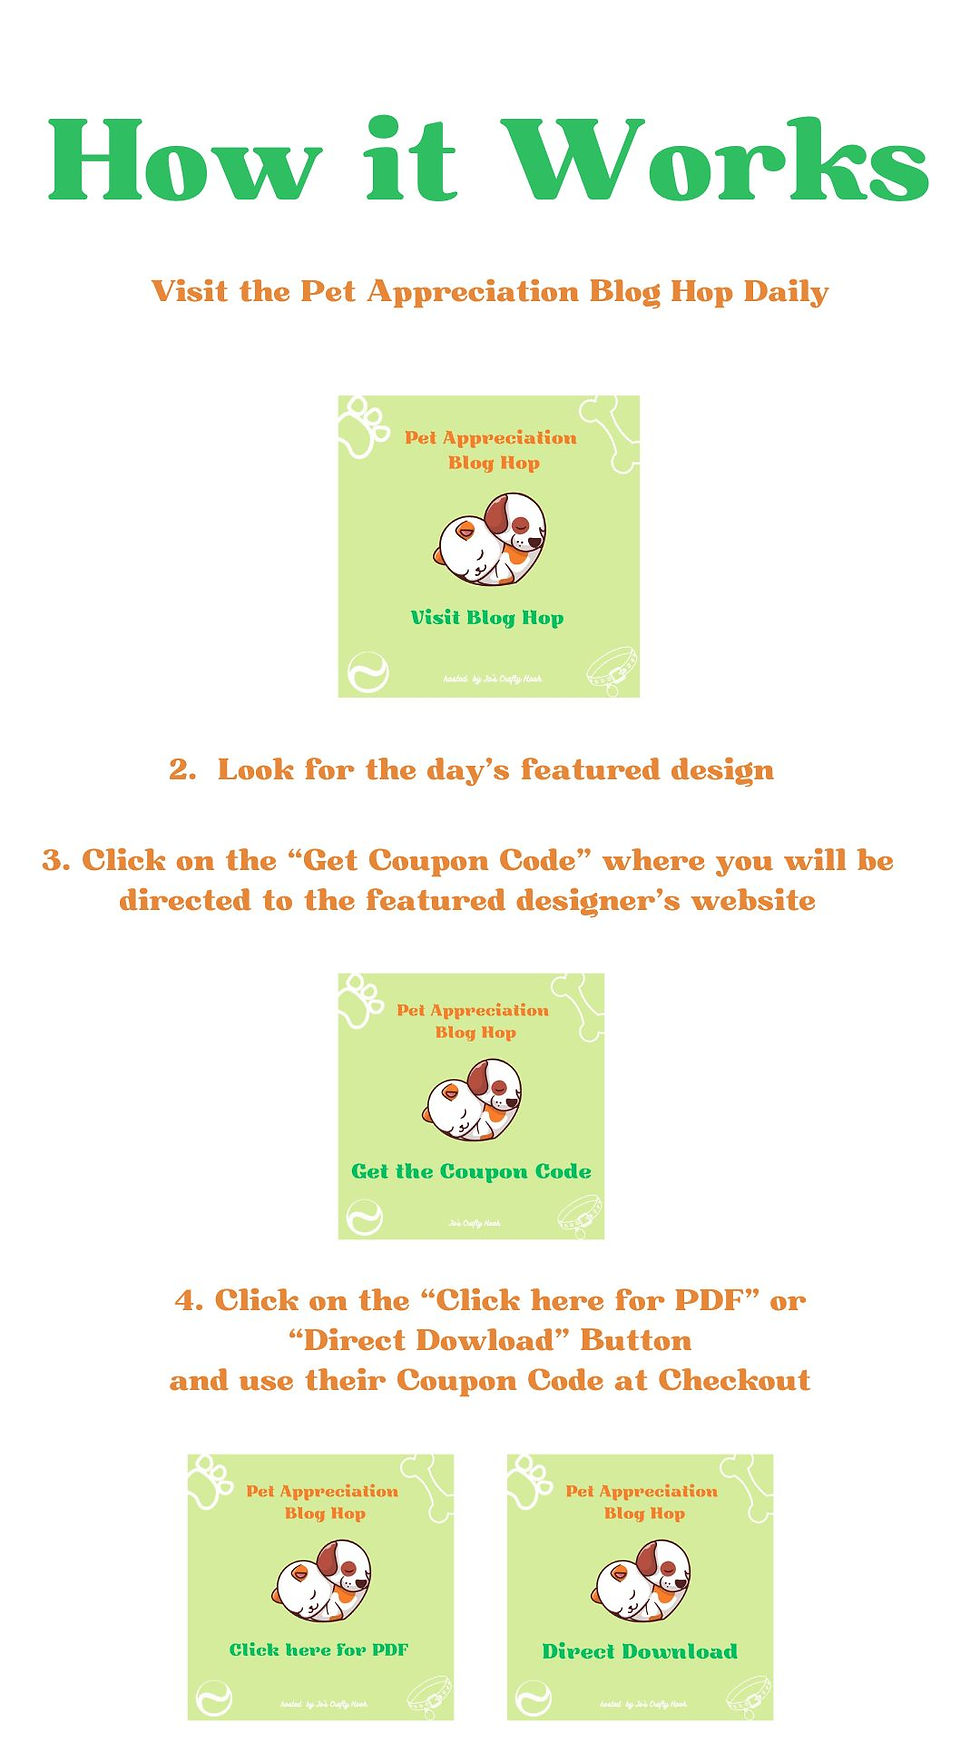
Wondering How to Download it?
Visit the Pet Appreciation Blog Hop Daily Blog
Look for the Day's FEATURED DESIGN to find the link to the Designer's Blog.
COPY the CODE for the pattern!
Find the CLICK HERE for FREE PDF button
Apply the CODE to get the Pattern for FREE!

As an added BONUS: for my Patterns ONLY
If, you've missed the Free Download, You can get pattern for $1, for the duration of blog hop. Use the same CODE as the Blog Hop on Ravelry
Additionally, GET 50% OFF of the Pet Collars 'n' Bandanas e-book on Ravelry for all of May, 2026! NO CODE needed.
TARA's Decorative Collar - pattern instructions to make the band of the collar with the central textured part.
Materials:
● Yarn of choice – any worsted weight preferably cotton/ cotton mix. You can use DK weight yarn for bigger buckles.
I have used Anchor Knitting Cotton yarn / AKC and DK weight scrap yarn for the Circular Slider.
● Hook: I have used 2.5 mm hook. You can use a hook size appropriate to the yarn used.
● Scissors and a needle to finish up.
Gauge: N/A
PLEASE NOTE - According to the gauge/yarn/ hook used, the size and stiffness of the project may vary. Custom instructions, if any, will be highlighted.
Stitches used: US crochet terms
ch - chain
yo - yarn over
sc – single crochet
dc – double crochet
ss – slip stitch
Crossed Bobble stitch. (it is made across 3 stitches)
yo, skip 2 stitches and dc in the next stitch, ch1,
yo, go back to the first skipped stitch, insert hook and pull up a long loop (3 loops),
yo again, insert hook into the same stitch and pull up another long loop. (5 loops),
yo and pull through all the loop.
Ch1 to close the stitch. (This ch1 doesn’t count as a stitch when we make the sc rows in pattern)
PLEASE NOTE:
· ch1 does not count unless specified otherwise.
· Ch3 counts as a dc stitch.
· The lengths of the 3 parts of the Collar as mentioned in each of PART A, PART B and PART C; depends on the size of the collar you want to make. So, you don’t have to stick to the lengths mentioned. CHECK Diagram at the end to give you an idea.
LET’S START!!!
Part A: here we will make the plain band portion of the collar. This portion will be attached to one end of the Buckle. If you wouldn’t want to use a buckle, you can add crochet ties.

Starting with a Long tail, Chain 6
Row 1: sc in the 2nd chain from the hook,
Sc in each of the next 4 chains. TURN. (5 sc)
Row 2: ch1, sc in first stitch,
(ch1, skip the next stitch, sc in the next stitch) * TWICE. TURN. (3 sc)
Row 3: ch1, sc in each stitch and chain space. TURN. (5 sc)
REPEAT Row 2 – 3 till your strip measures about 6 – 8 inches. Make sure you end on repeat of Row 3.
Part B: Continuing from here we will make the textured portion of the Collar.
Though mentioned as Row 1, its continuation of PART A
Row 1: ch3 (counts as a dc stitch),
[Crossed Bobble stitch over the next 3 stitches],
dc in the last stitch. TURN. (2 dc, 1 Crossed Bobble Stitch)
Row 2: ch1, sc in each stitch and chain space. TURN. (5 sc)
Row 3: ch1, sc in each stitch and chain space. TURN. (5 sc)
REPEAT Row 1 – 3 till the textured part of the strip measures about 8 –10 inches. Make sure you end on repeat of Row 3.
Please Note:
· The ch1 made to close the Crossed Bobble stitch does not count as a stitch. Hence, we do not make a sc for that.
· The adjoining diagram shows the WS, hence the Crossed Bobble stitch is shown as seen from the WS.
The Stitch diagram shows the scenario where Cross Bobbled Stitch is right leaning (where the bobble part is made over the front of the dc made). On the reverse side, it is left leaning; so, the project eventually is Reversible.
PLEASE NOTE: The Cross Bobbled Stitch has a ch1 to close the stitch (this one doesn’t count). This is the ch1 before the dc in the last stitch!
Part C: here we will again make the plain band portion of the collar. This portion will be where the Crocheted Slider will be added and then attached to the other end of the Buckle. If you wouldn’t want to use a buckle, you can add crochet ties.
NOTE: Though mentioned as Row 1, its continuation of PART C
Row 1: ch1, sc in first stitch,
(ch1, skip the next stitch, sc in the next stitch) * TWICE. TURN. (3 sc)
Row 2: ch1, sc in each stitch and chain space. TURN. (5 sc)
Row 3: ch1, sc in each stitch and chain space. TURN. (5 sc)
REPEAT Row 1 – 3 till your strip measures about 10 – 12 inches. Make sure you end on repeat of Row 3.
Fasten off with a long tail for sewing.
Making the Circular Slider: This part is made using DK yarn and same hook size; to give a firmer and more structured piece.
Chain 10,

Round 1: in the second chain from the hook make a sc,
Sc in the next 7 chains,
In the last chain, make (sc, ch1, sc, ch1 and sc),
Working in the unworked loops below,
Sc in each of the next 7 unworked loops of the chain,
Once we come back to the beginning, in the same chain as the first set of stitches;
make (sc, ch1, sc, ch1) and JOIN to the first sc made.
Round 2: ch 9, skip the next 7 stitches and slip stitch into the next stitch,
make a slip stitch in the next (ch1, sc, ch1, sc),
ch9, skip the next 7 stitches and slip stitch into the next stitch, slip stitch in the next (ch1, sc, ch1).
Join to the first Slip Stitch.

Round 3: ch3 (counts as a stitch), dc in the same slip stitch stitch,
make 15 dc in the chain space to get to the other end,
make 2dc in each of the next 4 slip stitches,
make 15 dc in the chain space to get to where we started the round,
make 2dc in each of the 3 slip stitches,
slip stitch to JOIN to the top of the beginning ch3.
Fasten off and weave in the ends.
CLICK the picture below for assembly instructions! - #freeonblog How to make a band/belt adjustable - using Crochet Slider!
CLICK on the button 'DIRECT DOWNLOAD' to download the PDF of the above instructions (the assembly picture instruction included) on 6th May, 2026!
If, you've missed the Free Download, You can get pattern for $1, for the duration of blog hop. Use the same CODE as the Blog Hop on Ravelry
Additionally, GET 50% OFF of the Pet Collars 'n' Bandanas e-book on Ravelry for all of May, 2026! NO CODE needed.
Sneak Peak at all the patterns in the Blog Hop!


SCROLL DOWN to see some of my recently featured Patterns

Also check out the latest Patterns in my #ravelry Store!
Another way to appreciate the Designers!
Hitting on the ❤️ on a post, is a huge boost in encouraging a Designer/Crafter. Linked
are the Instagram profiles of every Designer who has collaborated to make this Pattern Bundle and Blog Hop possible.
I can make customized projects for you. Ideal and handmade for Gifting for Special occasions, baby showers, party favors and hostess gifts.
If you want to get a custom product, design made, you can reach out to me via the
webpage, or check my SHOP on this website for available and Custom order products.
#gifting #handmadegifts #handmadewithlove #customorder #handmadetoys #saiasmidreamzinyarn #saiasmicreates #gifthandmade #celebratehandmade #supportsmallbusiness #localcrafts #bangaloreinstagram #bangalorecrafter #crochet #knitting #customknit #customcrochet


Comments